
This is an updated version of my previous cosplay, you can find the original here.
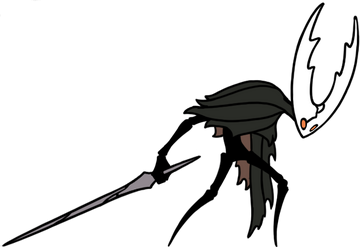
The Hollow Knight (also known as the Sealed Vessel) is the brainwashed, fallen, broken knight of Hallownest from the insanely popular 2017 metroidvania, Hollow Knight.
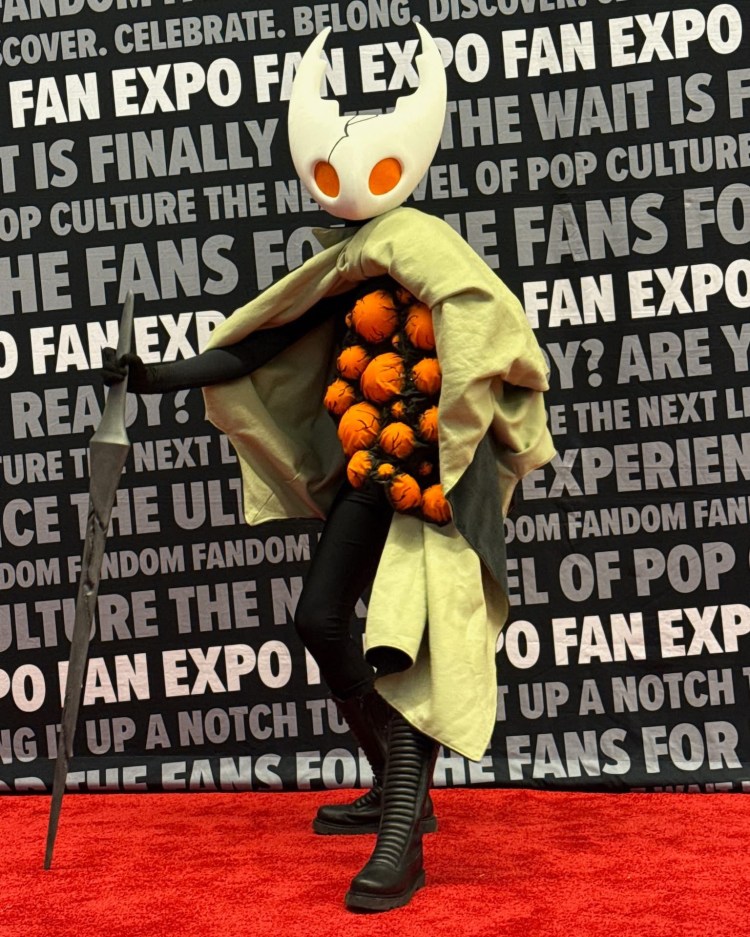
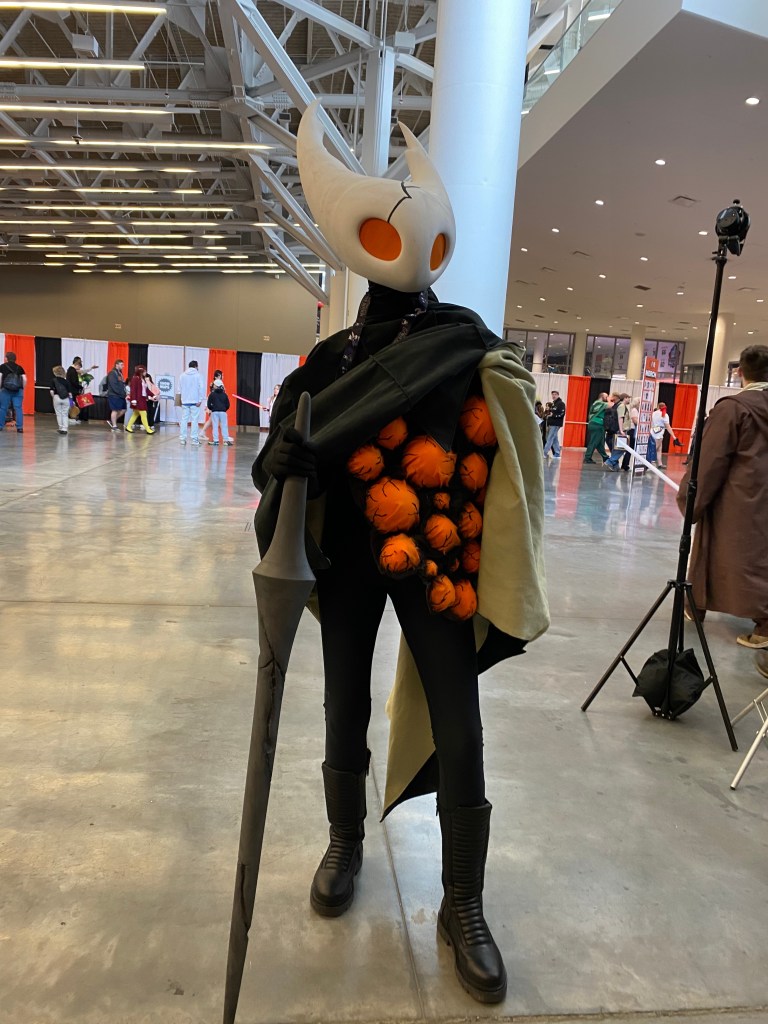
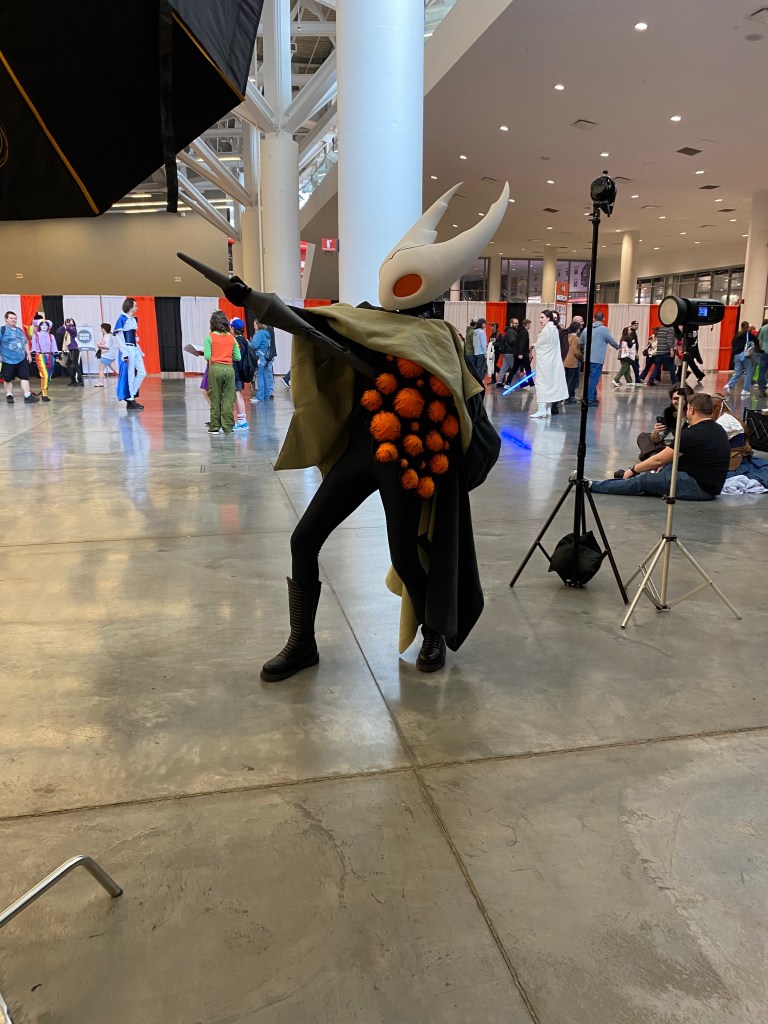
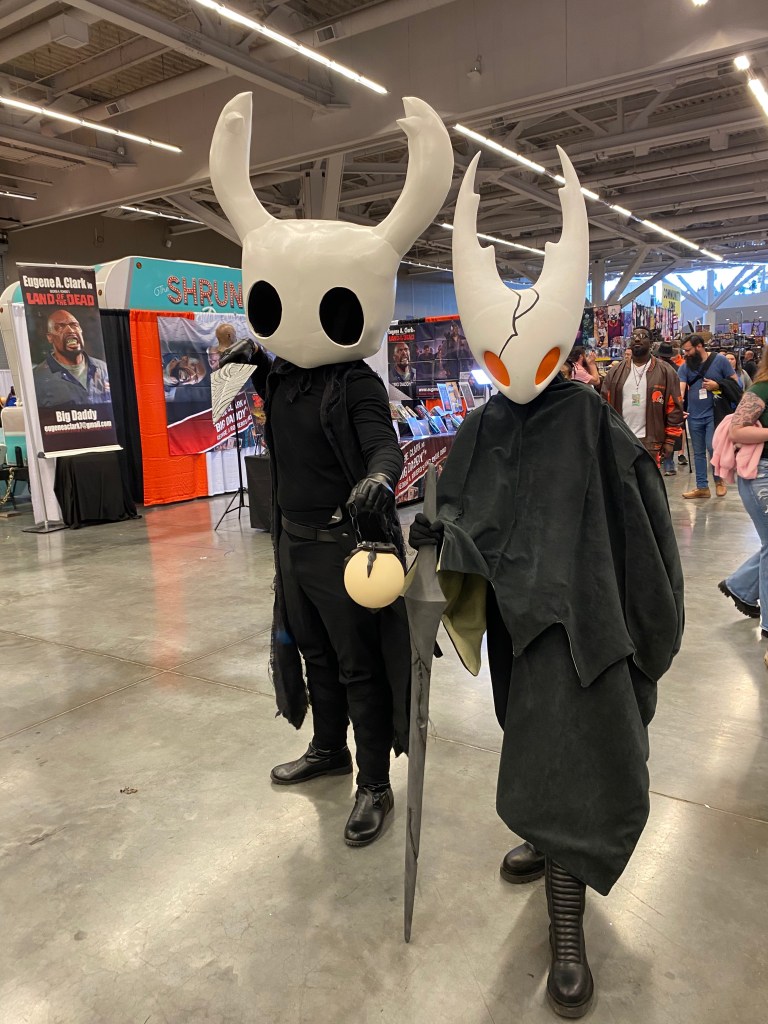
I updated my cosplay of The Hollow Knight! Or the Sealed Vessel, whichever title you prefer.
I remade the nail and head, 3d printing them with VEK3d’s STL files1! I had been aching to redo the head and nail after how much I ended up despising the EVA foam versions. I mean I truly hate how they both look and how constructing them went. I’m sure the EVA foam would’ve looked amazing if I knew what I was doing, but alas. So when I finally found files that would work, I immediately got to work! Thinking that surely this will be easier than the hours of foam and superglue.
I was gravely mistaken, though we’ll get to that in a minute.
The debut for this second version of THK was at Fan Expo Cleveland 2026, where it was taken on the Sunday and attended the red carpet walk.
While much more is to come with this cosplay, let’s get to construction.
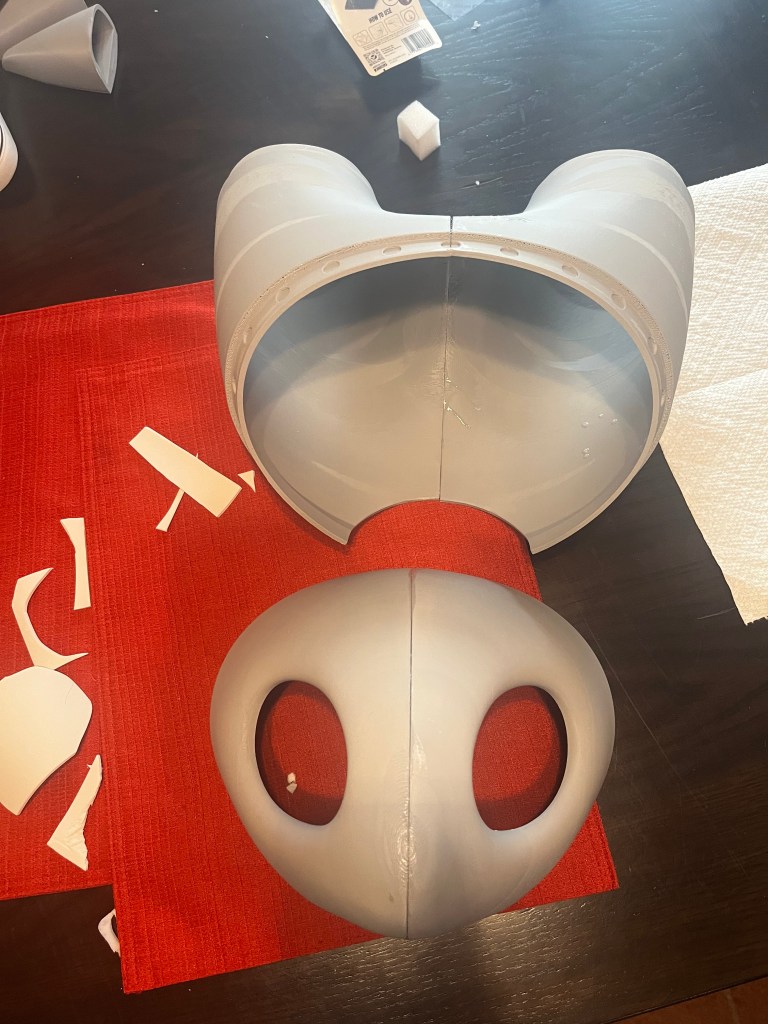
It is 3d printed on a QIDI Q1 pro2, using Polymaker CosPLA3. I began printing the horns, but when it was time to do the front and back half, I was genuinely surprised to find that the files weren’t split to accommodate smaller sized printers, such as my own. And while mine truly does not fall under “small printer” category, the back half required a 500mm printing space horizontally! Which is not a common bed size. So I took matters into my own hands and split the files in half.
The front piece took three tries due to warping which I couldn’t seem to minimize, and ended up being uneven and thus resulting in a large seam after prepping. The back half took four tries. Which doesn’t seem like a lot—until I mention it was a 22 hour print for one half. Only for them to fit horribly, and have significant warping in the front and back so there were large gaps in the seams.
So naturally, prepping this thing was a nightmare. I tried my best to get the uneven pieces as smooth as possible using layers of bondo4 but it just wasn’t going to happen. Especially not in the timeframe I had to get this thing to Cleveland Fan Expo. So primed it with liquitex gesso5, and began hand-painting it with white acrylic paint6. This was a stylistic choice, as I personally am not a huge fan of the spray-painted hollow knight heads. I wanted texture from the brushstrokes. And it worked!
Except, the way these files assemble, is that the front face half magnets onto the back half with the horns. This has a few problems.
- Makes it hard to attach or make any kind of padding on the interior.
- I don’t trust the magnets to sustain for multiple conventions.
- Because of all the warping issues I had on all four pieces (which I tried my best to minimize), the seam where the two halves met was HUMONGOUS. I mean it was half an inch wide! And right in the front! Where everyone looks!
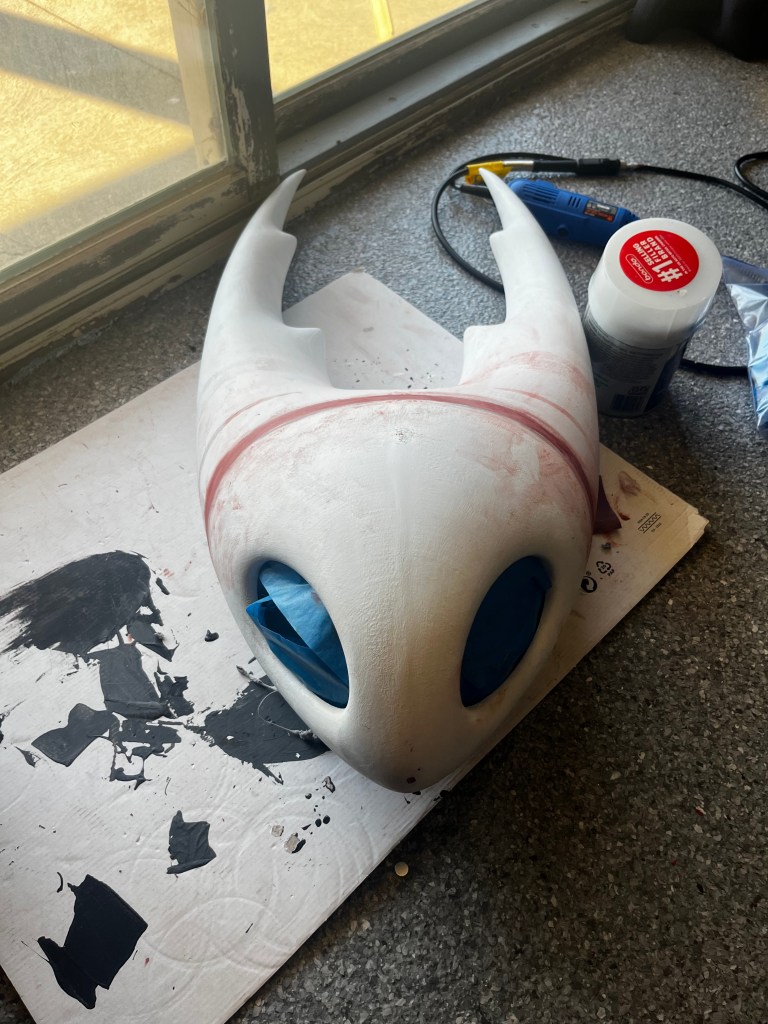
So last minute, I glued7 the two halves together. This meant though, that I could no longer get my head in. I sat on my bedroom floor and vigorously dremeled out a hole in the back for about four days, before I bondo-d and sanded the seams for another week. The seam is still very obvious, but at least it’s a transition and not a hole anymore.
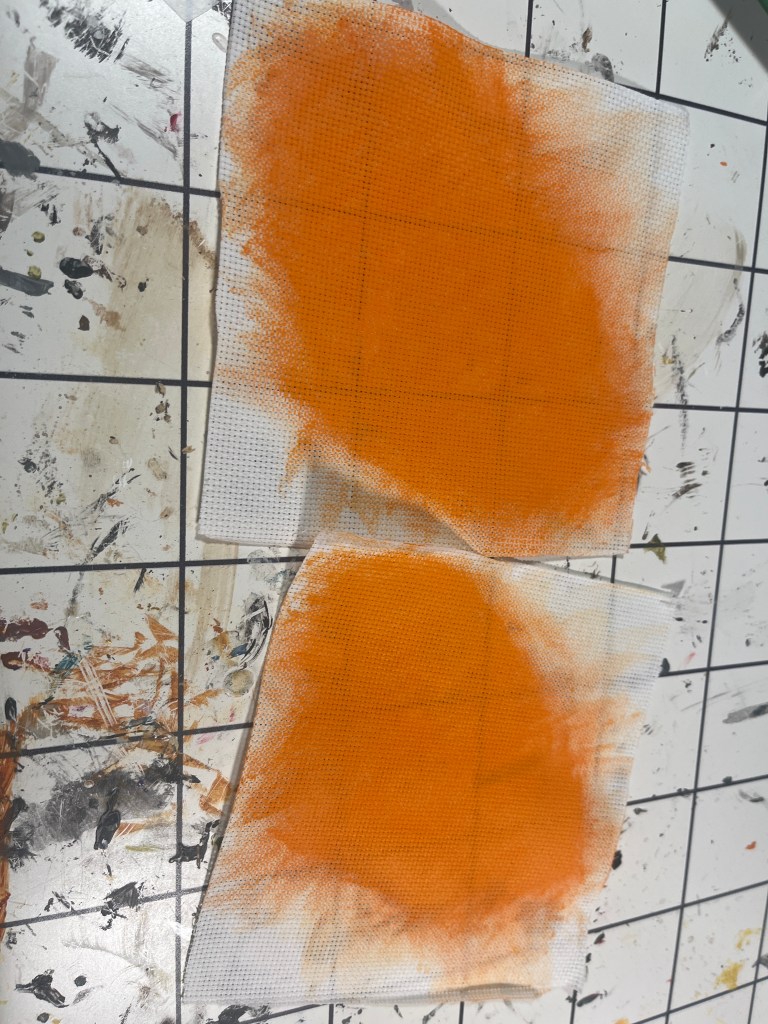
So I had to repaint the head a second time. But that only took about two days, then I painted on the crack and glued in the eyes. The eyes are made of trusty white Aida fabric8, which I dry-brushed orange acrylic paint on the front and used black paint on the inside so it’s easier to see through. Then glued them in with Loctite glue9. While I was planning to seal the head, it’s mostly white and wouldn’t be noticeable when scratched, and would have made the head shinier and thus accentuated the seams which I so greatly detest (though less than all the seams on the EVA head). Or so I thought. It did get scratched. Horribly so. So after Fan Expo I sealed it.
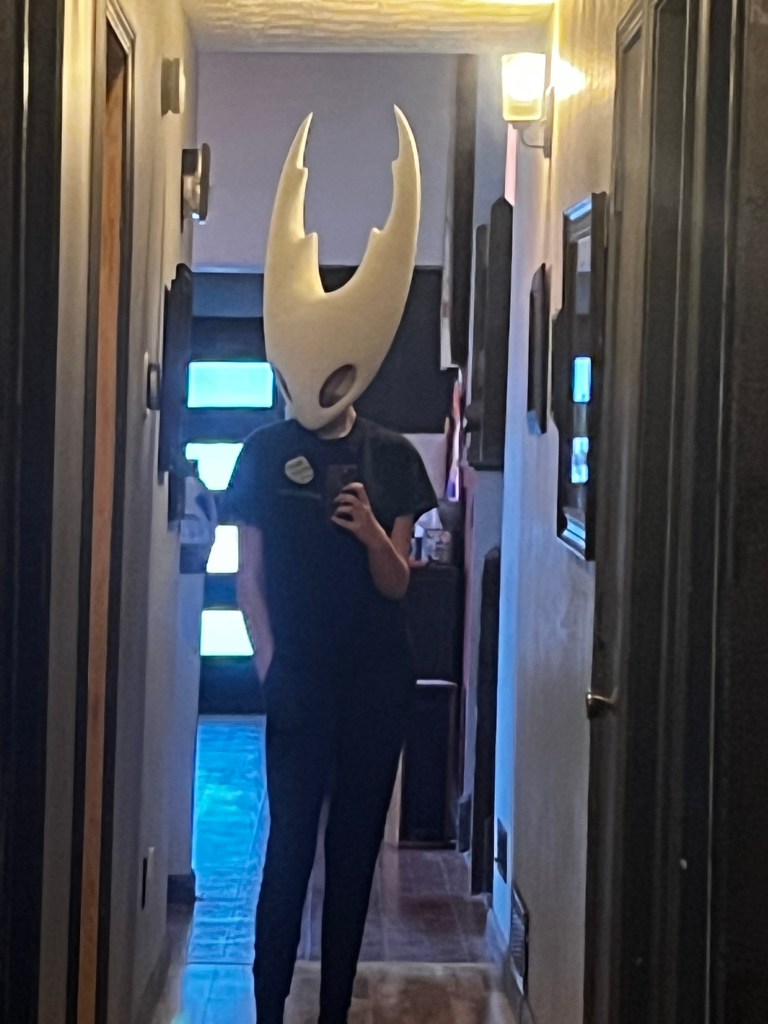
The inside is now just packed with foam10 to keep it from moving around, and there’s an elastic11 strap in the nose(?) that holds in a mesh bag of lead diving weights12. This counteracts all the weight of the horns to keep it on. And of course, there’s Velcro13 for helmet fans14.
For the nail, I 3d printed it by cutting down the four files that comprised it into eight. Once again, the original files were far too tall for most printers. Then I cut three wooden dowels to length and glued them inside the pieces as I used weld-16 to assemble the eight pieces, these dowels keep the print from just falling apart. I primed it with krylon15 and began painting. First I made it all one solid color of grey, and then mixed nearly black paint with tap water and used a wash in all the cracks. After applying and wiping it off repetitively, I got a look that I liked. Finally I sealed it with rust-oleum.16
I definitely prefer this version over the original, though it still has plenty of problems. That I likely won’t fix, either. Not until they make large-bed printers more reliable and cleaner. There’s just too many things that can go horrifically wrong in massive print jobs that I’m just not interested in dealing with.
Materials used:
